Tomatoes grow fast — and before you know it, those tiny seedlings are ready for more space. “Potting up” just means moving them into a bigger container so they can keep growing strong and healthy.
Here’s exactly how to do it.
When It’s Time
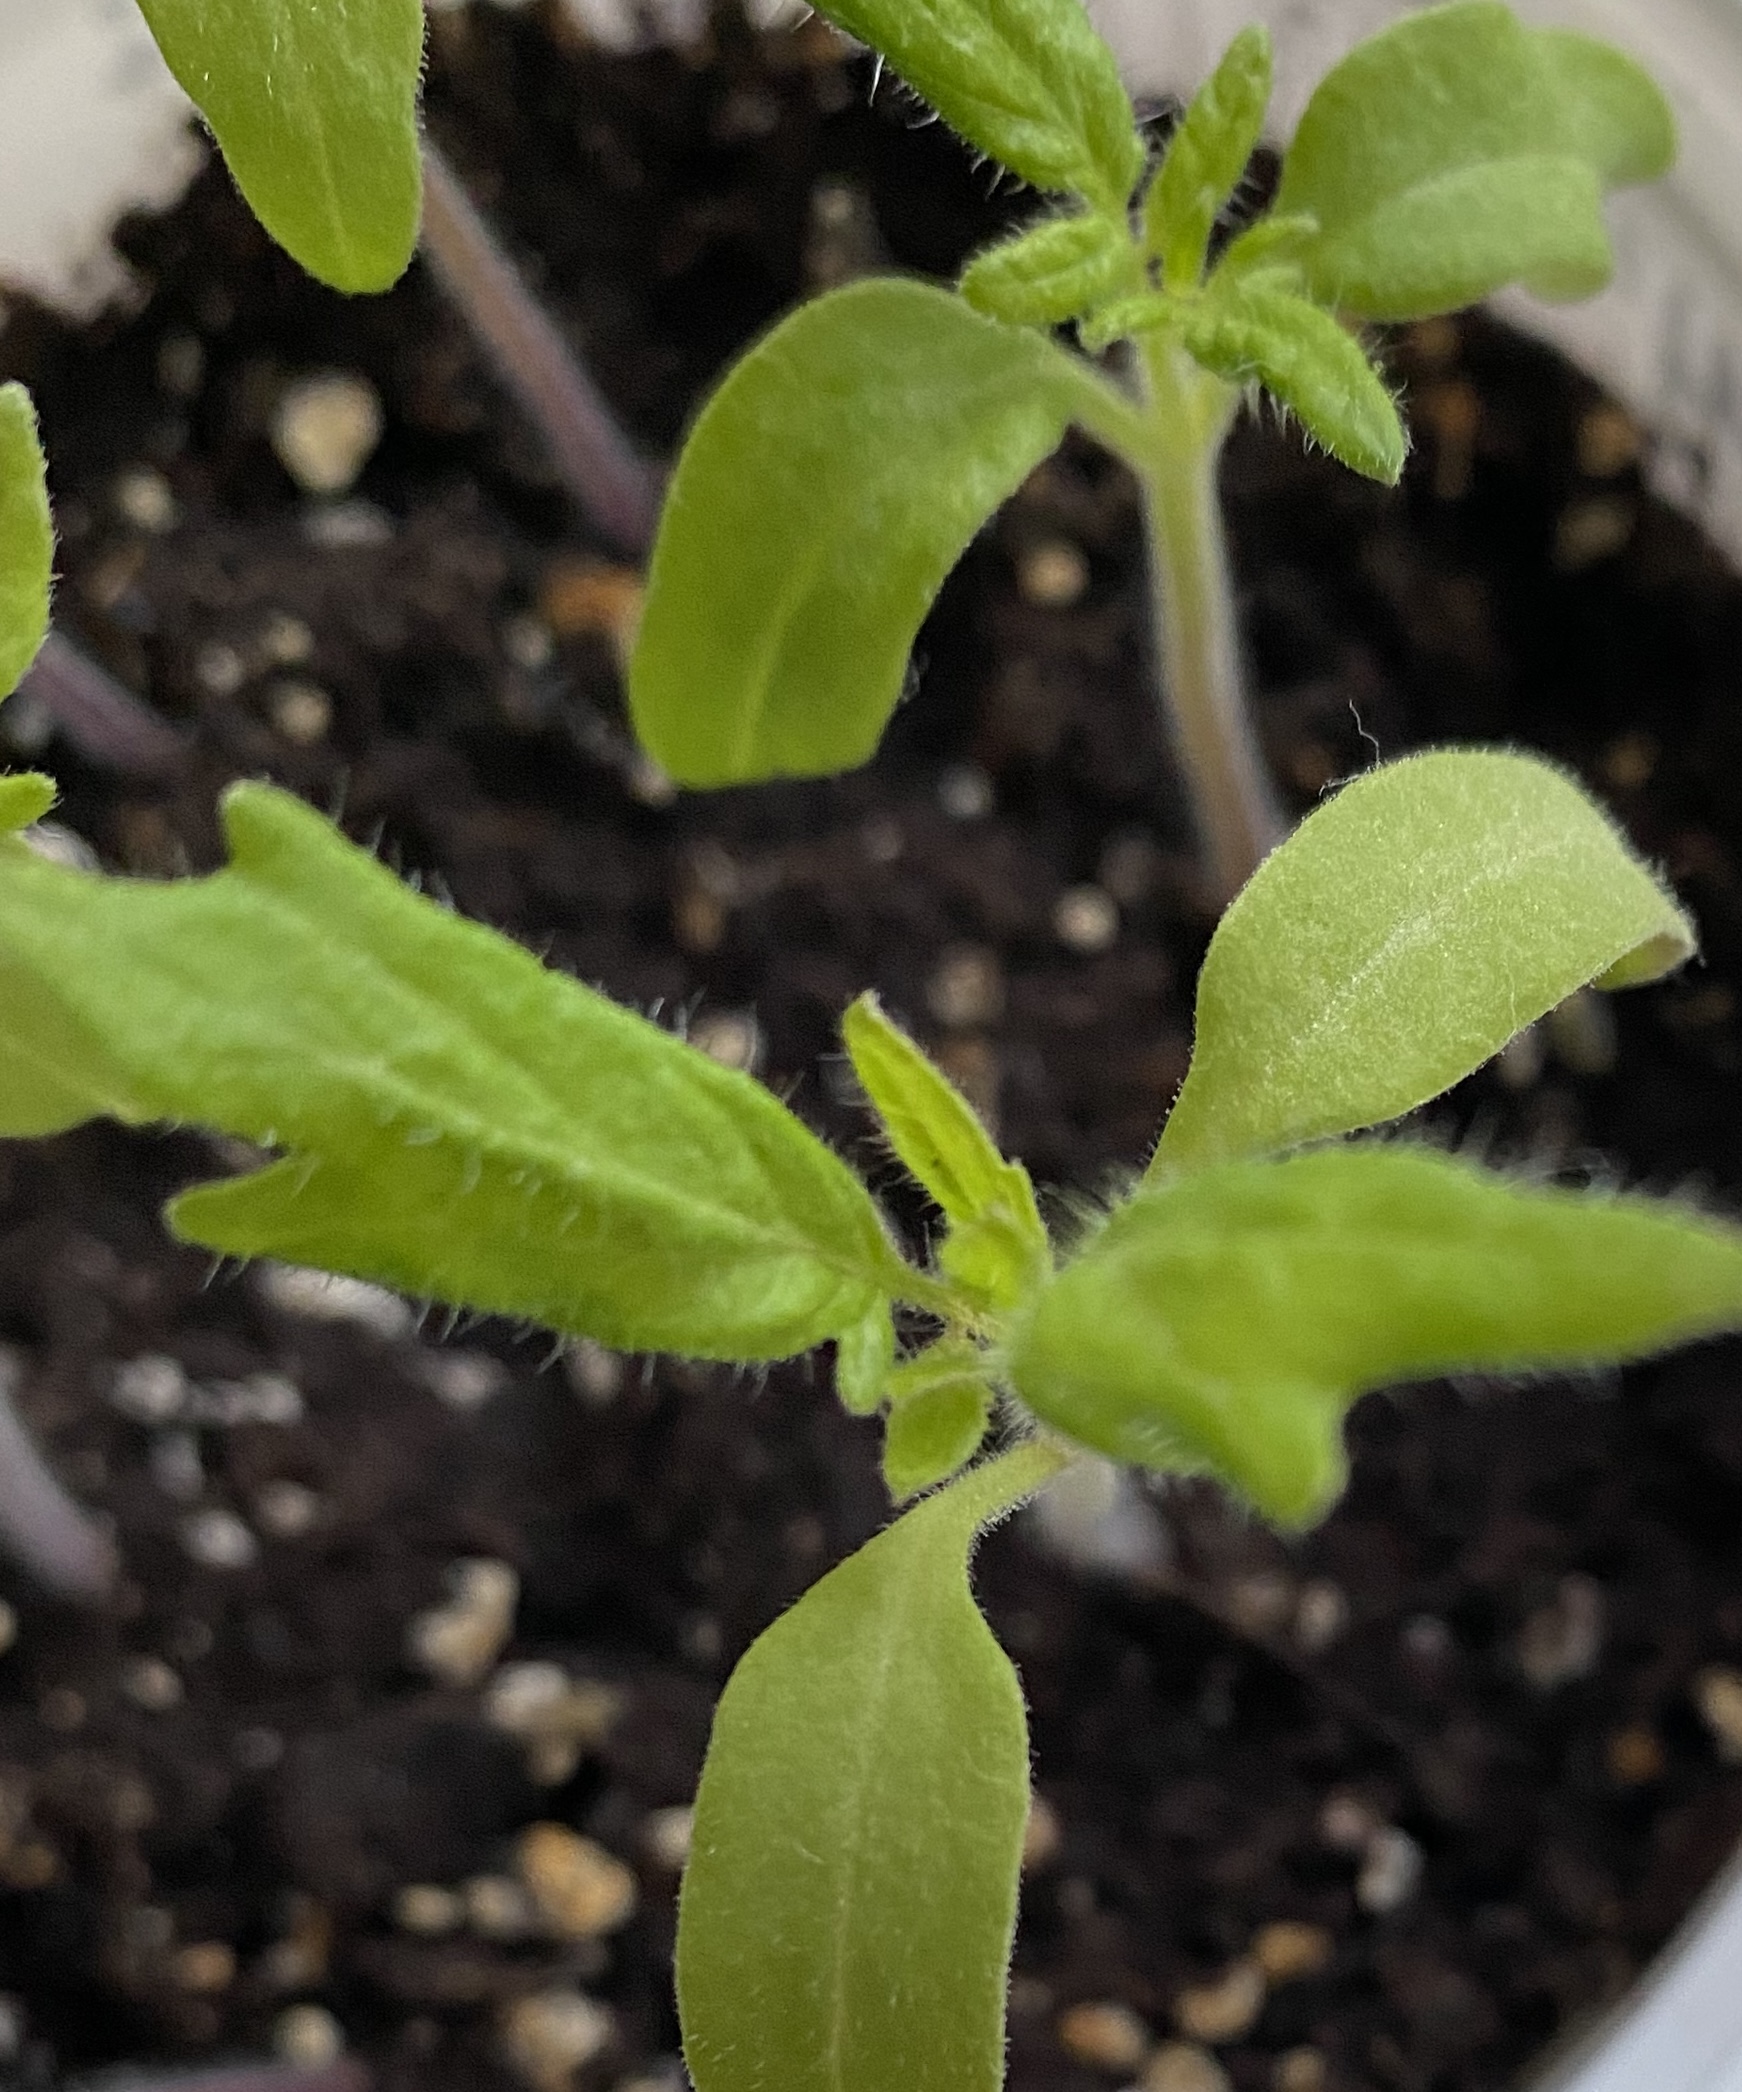
Seedlings are ready when:
- They have 2–3 sets of true leaves
- Soil dries out quickly
- They’re getting a little tall and leggy
And if they’re leggy? No drama. A little legginess can actually become a benefit.
What You Need
- 3–4 inch pots (or any container — just make a couple of drainage holes in the bottom)
- Light, fluffy potting mix (not garden soil)
- Water
- Tomato seedlings
Simple setup. No special gadgets required.
Step 1: Water First
Water about an hour before transplanting — but don’t drown them.
Moist soil holds together better and keeps roots happy during the move.
Step 2: Prepare the New Home
Fill the new pot with soil and make a nice, deep hole in the center.
And yes — deep is good.
Step 3: Remove Gently
Hold the seedling by a leaf (never by the stem).
Turn the container upside down and gently squeeze until it slides out.
Alternatively, use a teaspoon to lift the seedling out. Make one straight move down into the soil about ½–1 inch away from the stem, go all the way to the bottom of the pot, then gently lift the spoon with the soil and seedling together.
If the roots look a little tangled, don’t panic. Tomatoes are tougher than they look.
Step 4: Plant Deep (Trust the Process)
Plant the seedling deeper than before — even up to the first set of true leaves.
It feels slightly dramatic… but tomatoes grow new roots all along the buried stem. More roots = stronger plant = better tomatoes later.
It’s basically tomato magic.
Step 5: Fill and Press Lightly
Add soil around the plant and gently firm it in. Not too tight. Roots need air too.
Step 6: Water Again
Give the newly potted seedling a good drink to settle the soil.
Place in bright light, but avoid harsh direct sun for the first day while it adjusts to its upgraded living situation.
Within a few days, the seedlings usually look happier and sturdier — like they’ve officially graduated from baby stage.